
Scheduling and automating background tasks is key to developing and managing a reliable and efficient product. Yet, sometimes it’s hard to get the ball rolling and actually figure out where and how to begin the process of, well, scheduling.
So, Heroku users, rest assured - we’ve composed our own little tutorial covering the fundamentals of Heroku scheduling and managing tasks on Heroku, just for you.
What are Dynos on Heroku?
One of the basic terms you’ll have to get familiar with in Heroku is Dynos. Dynos are isolated, virtualized Linux containers designed to start quickly and execute code based on user-specified commands.
You can think of them as mini servers, designed to run a single process. Each app consists of one or more components which make use of different dynos:
- Web Dynos: Handle web traffic and respond to HTTP/S requests.
- Worker Dynos: Process background jobs like queue consumption.
- One-off Dynos: Execute one-time or irregular tasks, which are especially useful for scheduled jobs.
So, in addition to web and worker dynos that serve long running components of your app, Heroku also offers the option to run one-off dynos which run one-off processes that usually make use of your deployed application and its code. Since you only pay for dyno uptime, one-off dynos are useful for running scheduled tasks.
Heroku Scheduling 101
Cron To Go is a reliable cloud scheduler available on Heroku, based on the age-old job scheduler - cron.
Cron To Go utilizes cron expressions in order to schedule and automate tasks (otherwise known as: cronjobs) while also boasting a sophisticated notification system based on webhook notifications and email.
In this tutorial, we'll go over how to install and operate all these facets of Cron To Go, so that you’ll be well versed in the art of scheduling jobs on Heroku by the time you finish reading.
Installing Cron To Go
So let’s start at the beginning - The first step in using your Heroku scheduler is, no surprise here, installing it. You can choose between these two simple methods of installation:
- Use the following Heroku command line:
$ heroku addons:create crontogo
-----> Adding crontogo to sharp-mountain-4005... done, v18 (free)- Make use of the Heroku app dashboard:
Creating a job
Now that you’ve installed Cron To Go, open the Cron To Go dashboard through the Heroku dashboard or by entering this Heroku command line:
$ heroku addons:open crontogo
Opening crontogo for sharp-mountain-4005
Click the conspicuous pink Add job button located right in the middle of the page:
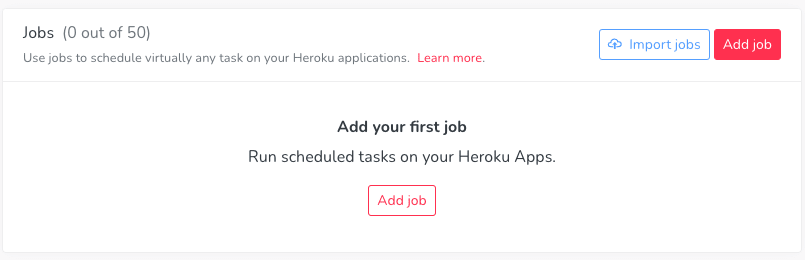
You’ll then be asked to input some crucial details regarding your Cronjob, such as: The time zone in which the job will take place, the exact command you want Cron To Go to execute, the Dyno size, the Dyno’s timeout, and the schedule of the job, which determines when your Cronjob will run.
The Cron schedule is expressed in a certain code known as a “Cron Expression”. You can read all about Cron Expressions in our Complete Guide to Cron Expressions.
How to manually run a job
Congratulations! Your job is up and running! But what if you feel like going off-schedule for a bit, and running the job, like, right now? In that case, you’ll have to:
- Open the `Actions` menu for your job and click `Run job now`.
- Confirm that you want to run the job manually.
- Just sit back and relax. Maybe stretch your arms a bit.
Job status notifications
So you’re still not entirely relaxed. We get it, you might be wondering what’s going on with that job you just ran. Well, you can rest assured that Cron To Go will notify you of any unwelcome developments taking place under the hood.
Here’s how to enable and customize your Cron Job notifications:
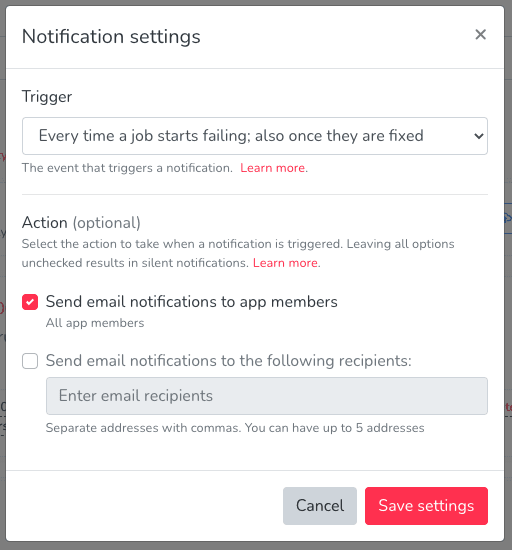
- Click `Notifications` in the top menu - the notifications dialog opens.
- Choose the trigger for notifications (only failures, or failures and successful executions). Note that Cron To Go will notify you on the first failure and first success after a failure per job.
- Choose the recipients. By default, all app members will receive a notification. In some cases, not everybody cares, so you can specify a list of recipients separated by commas.
How to view job history
Maybe something didn’t go according to plan, or maybe you just need to check in on your job, just in case. Either way, the history of your jobs is completely available to you. You can check it out at any time like so:
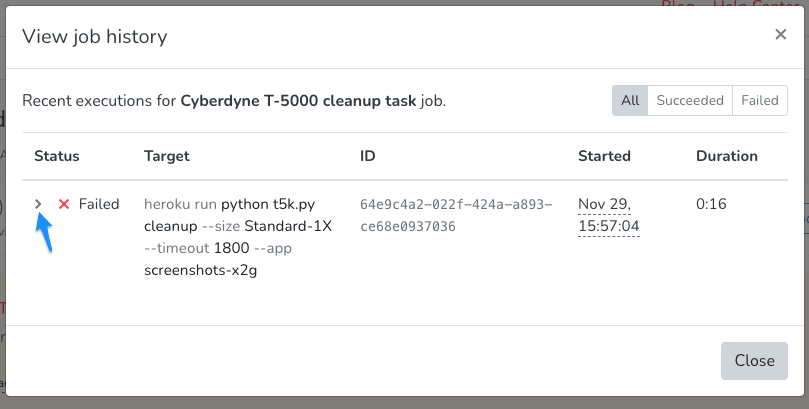
- Open the
Actionsmenu for your job and clickView job history. - A dialog box opens which displays the last recorded job activity including the time it started, the duration of the job, and the job’s status. You can also expand each execution and see the return status, error message, and execution log of your job. Note that Cron To Go doesn’t capture the app logs, but rather shows what’s available on Heroku. Heroku only stores the last 1,500 lines of logs, so we recommend that you add a 3rd party logging add-on to capture more logs to allow you to debug and analyze any issues
The end is only the beginning
There you have it! You’re basically an expert scheduler.
And if you have any questions regarding Cron To Go, you can always reach out to us via the chat button. Don’t be a stranger!
Frequently Asked Questions
What are Heroku jobs?
Heroku jobs refer to tasks scheduled to run at specific intervals using add-ons like Cron To Go, enabling automated background processes.
How do I schedule a Heroku job?
To schedule a Heroku job, install the Cron To Go add-on via the Heroku dashboard or CLI, then use cron expressions to set your job timings.
Can Heroku jobs handle real-time notifications?
Yes, with Cron To Go, Heroku jobs can handle real-time notifications, alerting you via email or webhook about job failures or successes.
What types of Heroku dynos can run jobs?
Heroku jobs can be run on different dyno types: web dynos handle HTTP requests, worker dynos process tasks like queue consumption, and one-off dynos perform irregular jobs.
How do I monitor Heroku jobs?
Monitor Heroku jobs through the Cron To Go dashboard, where you can view job histories, check statuses, and receive notifications about job executions.
Are there any tools for scheduling jobs on Heroku?
Cron To Go is a popular tool for scheduling and monitoring jobs on Heroku, offering features like advanced cron expressions and comprehensive logging.