
Are you currently using Heroku Scheduler but would like to switch to Cron To Go to obtain benefits such as flexible cron based scheduling, more frequent job running (up to every 1 minute), or receiving notifications when things go wrong? If your answer is yes, but you don’t want to go through too much extra work, you’re in luck because we had you in mind when adding the option to import jobs directly from Heroku Scheduler with just a few clicks of a button. Keep reading for a quick and easy 3 step guide explaining how to import your Heroku Scheduler jobs into Cron To Go.
Step 1 - Install Cron To Go
To install Cron To Go, use your Heroku app dashboard or the CLI.
heroku addons:create crontogo:free-trial -a [YOUR APP NAME]
Step 2 - Get your Heroku API token
You’ll need your Heroku API token in order to pull the jobs from Heroku Scheduler. To generate and retrieve it, simply run the following command in your command line prompt:
$ heroku auth:token

 ›   Warning: token will expire 08/03/2021
 ›   Use heroku authorizations:create to generate a long-term token
7d276d97-e340-44a5-a65a-6d7fac489334
Then copy the token to your clipboard.
Step 3 - Import Heroku Scheduler jobs
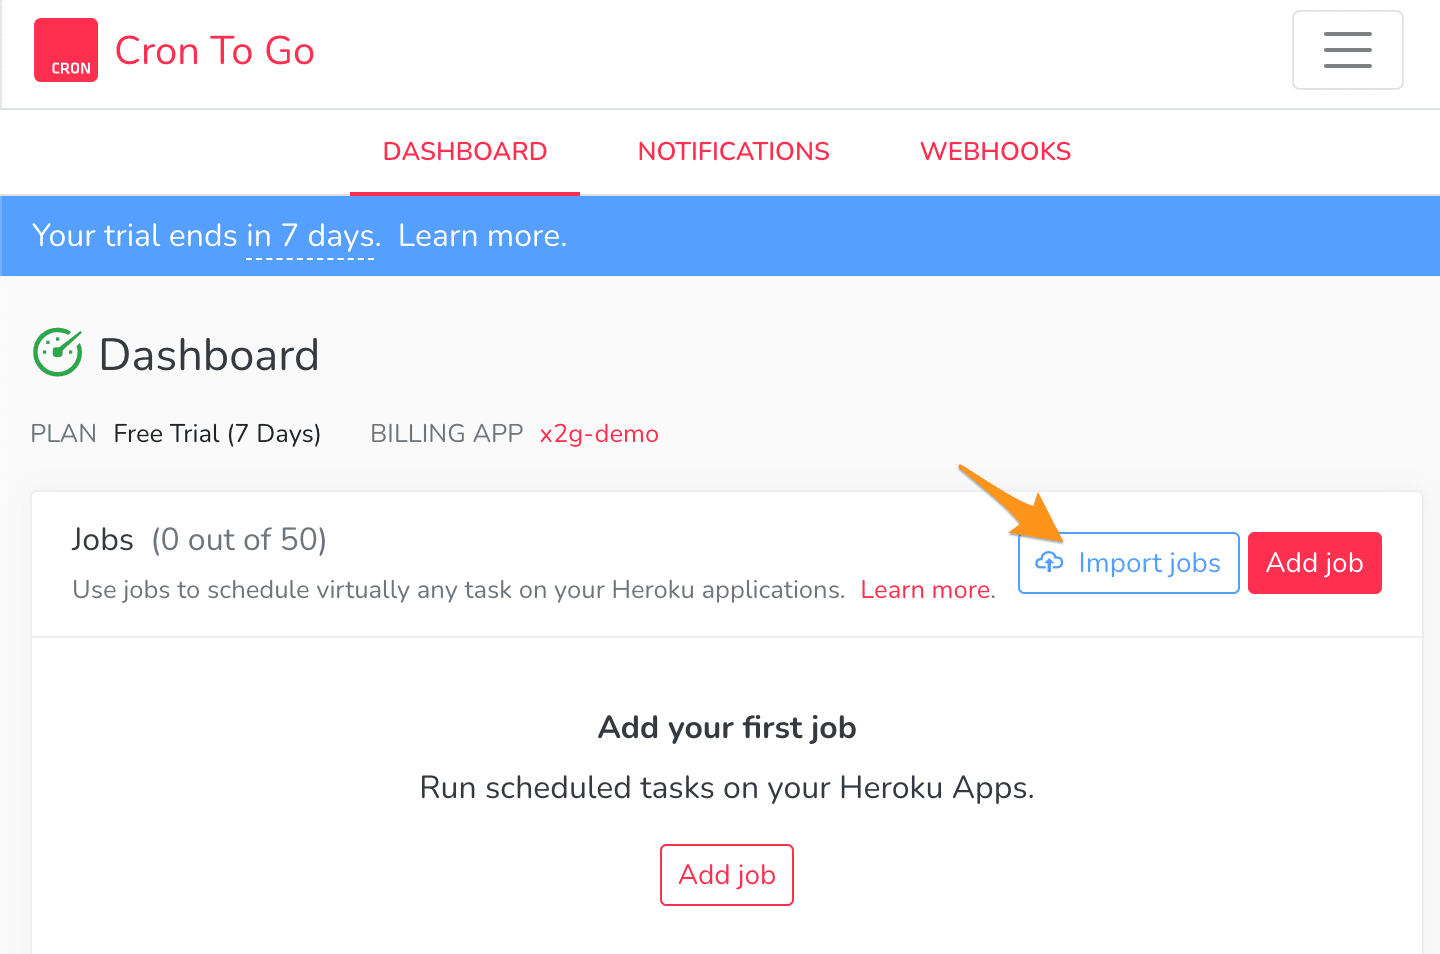
- Open your Cron To Go dashboard by clicking on it through your app’s resources dashboard. Then, click on the Import Jobs button:
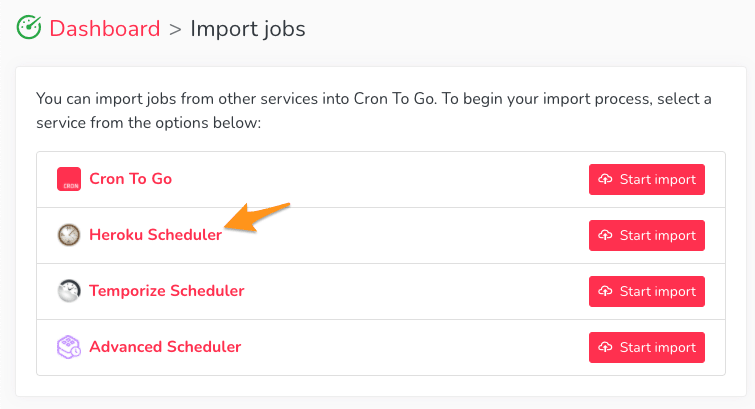
- Click on Heroku Scheduler from the pop-up list.
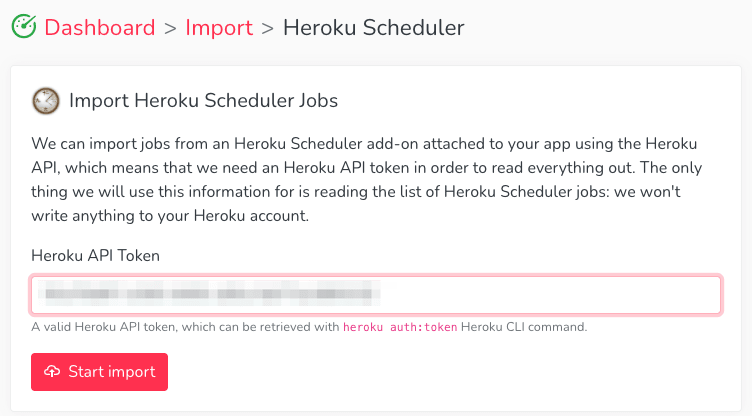
- Time to use your Heroku API token! Simply paste the token you copied in the previous step, and click Start import.
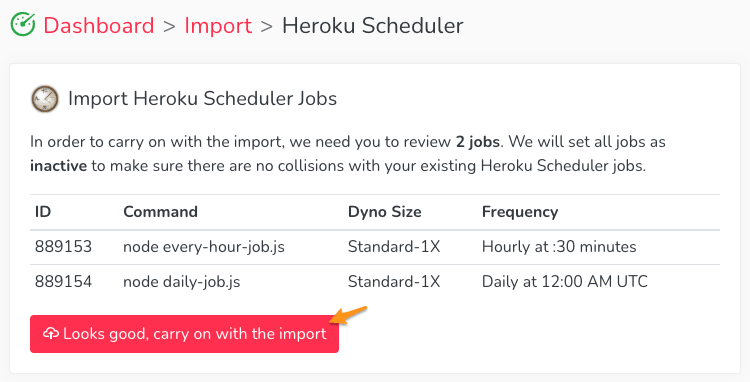
- Review the jobs that will be automatically created for you. Note that the jobs will be disabled by default until you disable them or deprovision Heroku Scheduler so that they don’t collide with your existing jobs. Looking good? Keep calm and carry on with the import!
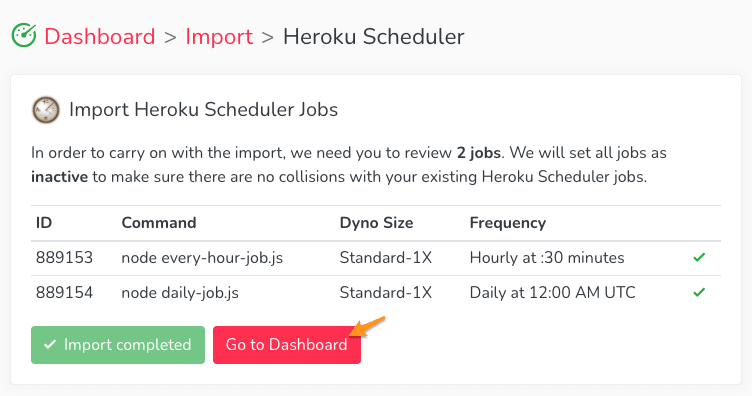
- You’ll be able to see the progress of the import process. Once the import is complete, click Go to Dashboard to review your new Cron To Go jobs and enable them.

Last but not least
Heroku Scheduler doesn't support disabling jobs, so one way to disable a job and test it in Cron To Go is to prefix the Heroku Scheduler job command with the hash sign (#).
Once you’re done testing your jobs in Cron To Go, don’t forget to remove Heroku Scheduler. You can either remove it from the UI or run the following command:
heroku addons:destroy scheduler -a [YOUR APP NAME]
We’ve also compiled a thorough features comparison in respect to Heroku Scheduler and Cron To Go to help you make the best decision regarding which solution best suits your needs. Check it out!